
In this blog, you’ll learn how to make a stunning and modern prom dress right in the comfort of your own home in 10 easy steps. And, if you’re in luck, you could create this memorable moment with your daughter and mother all together like I did last year!
Please note: As an affiliate for Amazon and other retailers, I may earn a commission if you purchase any items I've listed in bold or italicized font. These are placed throughout the blog so it makes it easy for you to get all the things you need to make your beautiful gown. These are meant to help you along in the process and make it so much easier for you so you don't have to hunt everything down on your own. I hope you enjoy this step by step blog, and please let me know what you think and if this may have inspired you to make your own gown!
In the U.S., prom is deemed one of the most a magical nights of your young adult life. So what better way to make it extra special than by designing and sewing a custom, cute and modern gown together as a family of generational artists? In this blog, we’ll easily walk you through all 10 steps of making your own prom dress from scratch, removing the intimidating fear of construction know-how with simple YouTube videos, and allowing your design aesthetic to take flight it into an unforgettable experience shared between mother, daughter, and grandmother. Feel free to include aunts, sisters, friends, or other even brothers, dads, uncles and cousins along for the ride! Just remember, this is YOUR special night, and YOU should get what YOU want! Ready?? Let’s go!
Step 1: Take Accurate Measurements of Your Teen
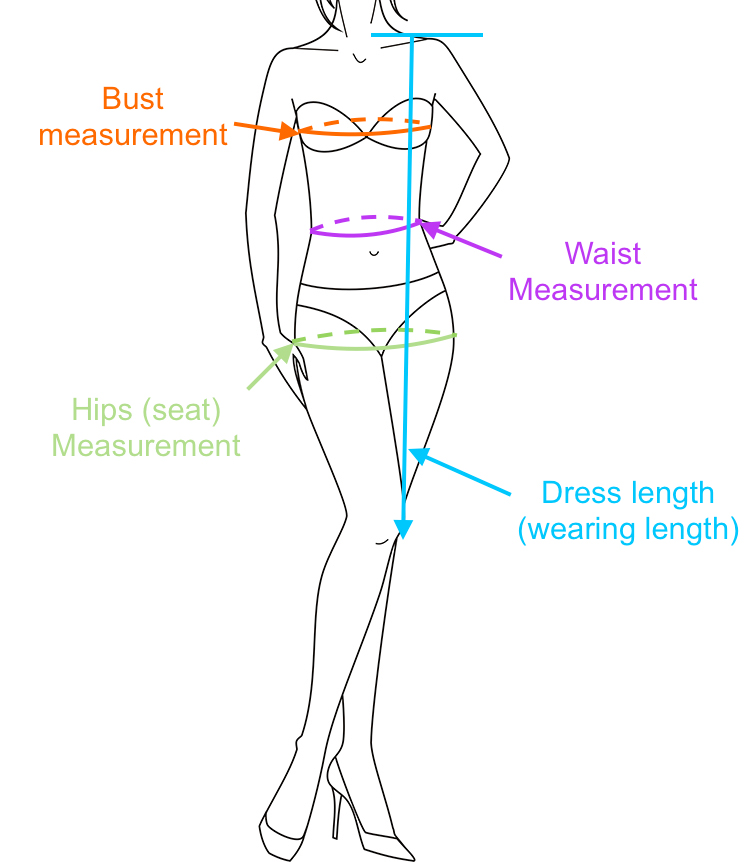
First and foremost, before you do anything else, it’s crucial to jot down the right measurements to ensure a perfect fit. If you decide to purchase a dress form, you may need to adjust the sizing of certain areas to get the best fit as you pattern and piece your structured garment together. (I highly suggest to invest in a dress form so you have something to pin the garment to as you go, and it makes it easier for seeing the garment come to life as well as adding details like beading etc. That way you’re not constantly putting pieces up to your teen as you go.) To see how to measure properly, follow this dress guide as shown in the diagram below or watch this video by Made To Sew for more details. Write all of your measurements down in a regular notebook or a garment tracker notebook like this so you can keep track of all the numbers you measure by using a flexible measuring tape. You’re going to want to save these for any outfits you make this year and ensure you’re getting a quality fit any time you refer back to the notebook. These are areas you need to measure and jot down:
- Bust: Wrap the tape around the fullest part of the bust while keeping it snug but not tight. You may want to do this with the undergarment she will be using for the dress. Or, without any undergarment if the undergarment will be sewn into the dress, like a corset.
- Waist: Measure around the narrowest part of the torso. To help determine this area more precisely, have her bend naturally to the side. You’ll see where the waistline indents. That is where to put the tape and wrap around as shown.
- Hips: Measure around the widest part of the hips. Make sure it fits across the buttocks, not under or below. You may want to do this multiple times. Write down the largest number of all the trials.
- Dress length: Start from the shoulder and measure to the desired finished hem. It’s better to leave extra at the bottom for creating a finished hem or for heel height if you don’t have shoes picked yet. You can always cut more fabric off, but you can’t add more on!
- Sleeve length (if applicable): Measure from shoulder to wrist as the arm falls long to the side of the body. This is typically where the pointy shoulder bone sticks up, or where you’d see a shirt sleeve shoulder seem on a fitted shirt. You can measure how long you want the sleeve to fall now, leaving some extra for sleeve hem, or keep it long if you’re still undecided how long you actually want the sleeves. Again, leave more rather than less!
Diagrams 1:
Write these down and keep them handy as you work on the dress. As we design, we tend to change our minds about fit and style. It’s always better to have more fabric to work with than less. So keep your lengths long, and give yourself some extra seem allowance to work with.
Step 2: Sketch Your Dream Dress Design…Finally!
Ok. Nooooow it’s time for the fun part! The dreeeeaming! Eeeekkk! *Sqeal!* This is where you get to have your imagination run wild! Create a mood board and gather inspiration from all your favorite magazines, Pinterest boards, IG influencers and of course those famous red carpet looks. You can cut and glue pictures from these resources onto a poster board or simply pin to a cork board or tape to your wall to create a fun montage of silhouettes, colors, textures, trims, necklines, backs, slits and seems!


Once you’ve done this for a few days (or weeks or months) and have narrowed down your current dream dress style for this year, sit down and focus with your drawing colors and a sketch pad to outline YOUR dream dress ideas. Learn how to draw a fashion illustration called a croqui here by Natalia Dedios and remember, it doesn’t have to be perfect. There are more tutorials on YouTube like this one by The Styleaholic to help you get started. Just be prepared, because you’ll have a lot of options you come up with from your mood board.
This is a great time to ask your family and friends for their suggestions, too! Remember: This is a FUN process to design! Let everyone get their opinions out right now, so you can ALL be on the same page when it’s time to do the official creating. It will be way more fun to get all the ideas out on the table so everyone can have their idea seen and heard right now. This will mitigate any issue in the future about design so no one feels left out, upset, or unheard. This is the time to get ALL ideas out on paper to be discussed. Everyone can have fun rendering their own version of this dress. Zoe Hong has some great tips here to think about while drawing and coloring in your sketches. Make sure to discuss elements like:
- Neckline: Sweetheart, halter, off-shoulder, deep-v, asymmetrical, etc.
- Sleeves: Strapless, long sleeves, puff sleeves, off the shoulder cutsie princess sleeves, lace, etc.
- Back design: Open-back, keyhole, lace-up, (hidden)zipper, low back, bow, etc.
- Embellishments: Beading, sequins, lace, appliqués, rhinestones, feathers, ruffles, cut-outs, gathering at waist, etc.
- Skirt: full, ball gown, slim, mermaid, A-line, hi-low, cocktail, long, ruffle, slit, double slit, how high slit, carwash, train etc

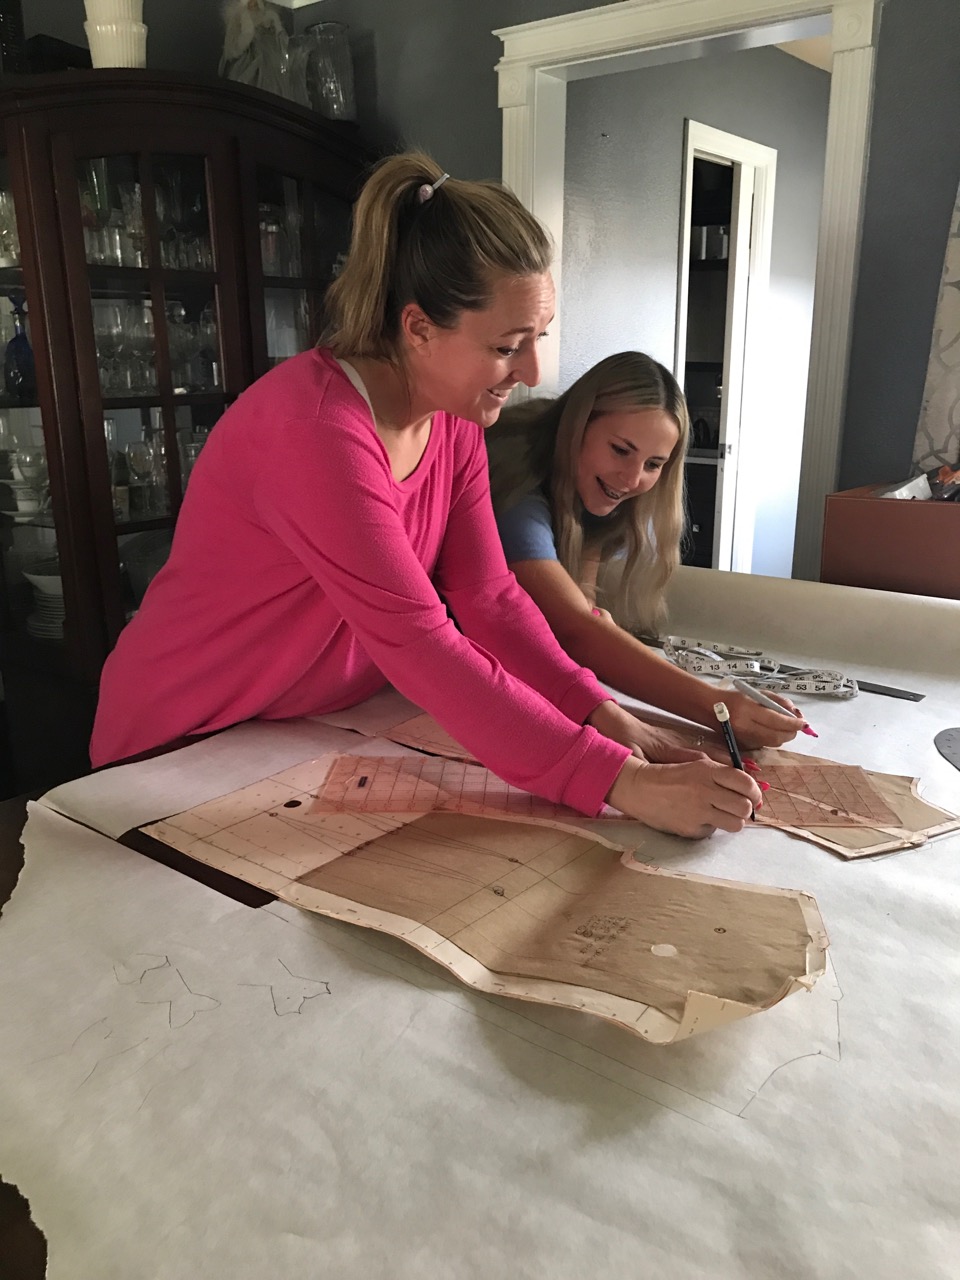
Step 3: Shop for or Create a Pattern
Using a pre-made pattern can be a great starting point, but don’t be afraid to modify it. Made to Sew explains here how to understand what you’re looking at and working with when using a pre-made pattern. Look for patterns that match your design and adjust them as needed. Mai Ardour has a great tutorial here for you to get started. If you’re comfortable drafting your own pattern from your measurements, use dotted pattern paper, heavy manila paper to preserve the pattern to use again, rulers, and a tracing wheel to map it out. There are so many YouTube tutorials out there to create a basic bodice block from your measurements, but I like this one by Thrills and Stitches because she makes it so easy to follow along. Once you have your basic bodice created from your own measurements, you can begin to draft your first pattern! Yay! But did you know you can drape fabric on your dress form instead? Catherine teaches you how to do this here. Depending on the style you want, you’ll adjust the basic bodice accordingly. If your dress has a corset, this is a cathartic and satisfying video to watch on how to make a corset by Sopsi and this video gives a pattern to start with and verbal directions on how to actually construct it.
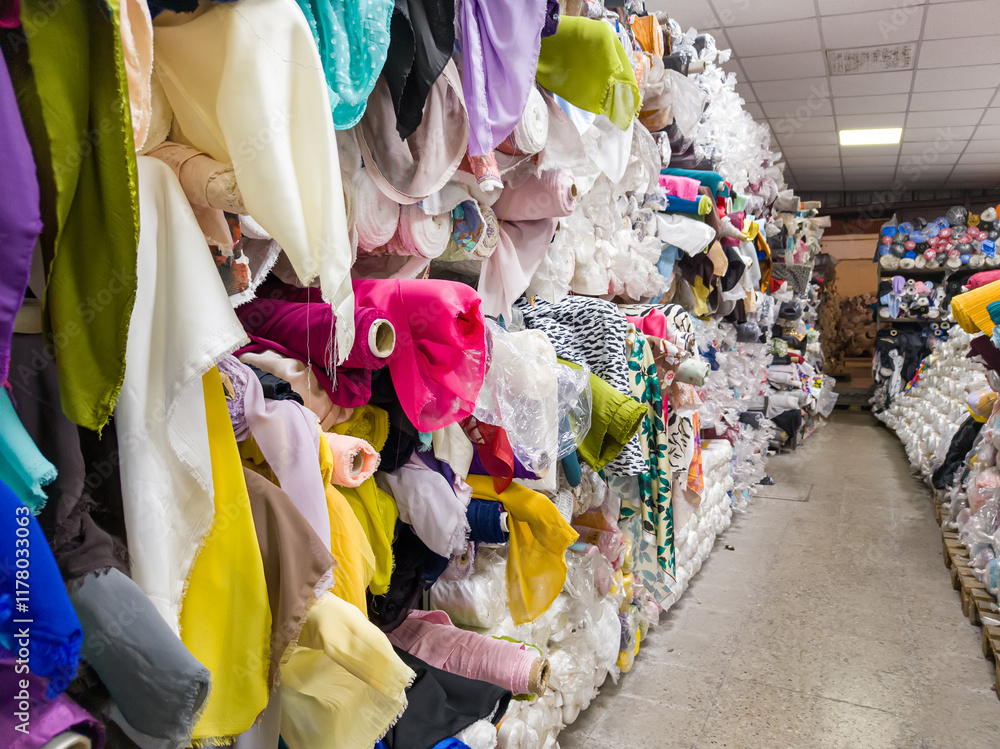
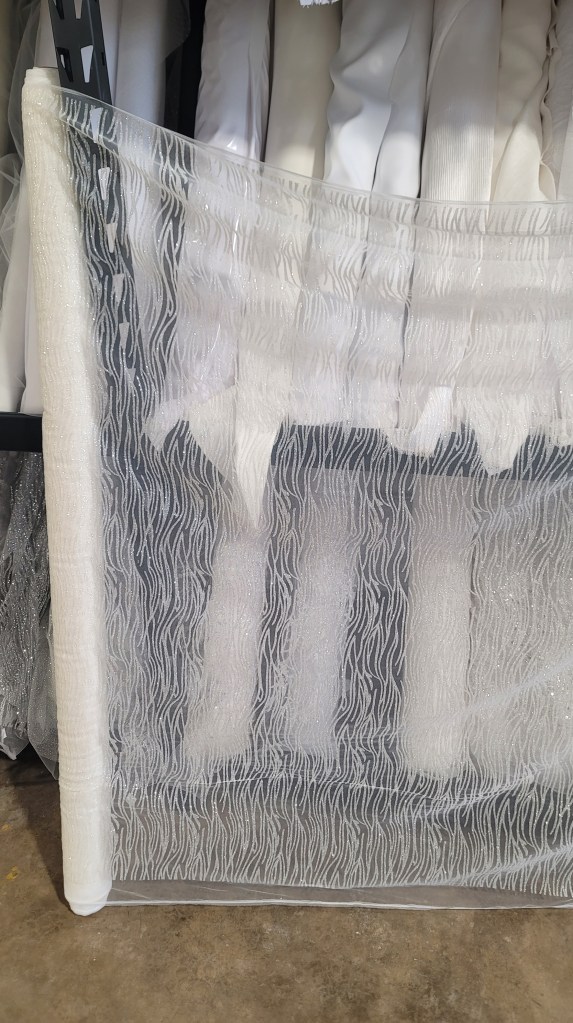
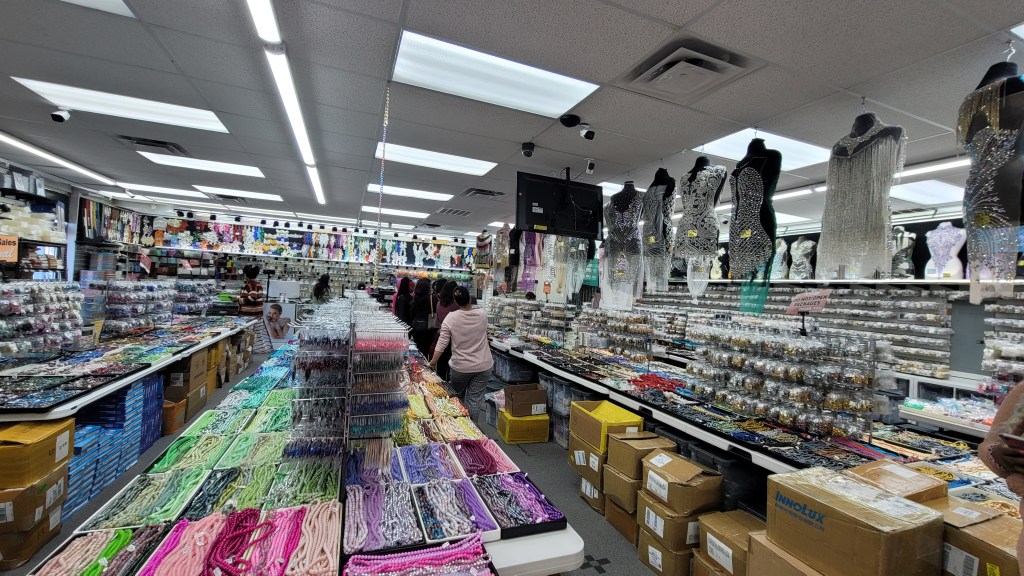
Step 4: Shop for Fabric and Supplies
Ok, now that we have the design prepped and ready to sew, we need to take a trip to the fabric store! This is one of the most exciting parts! Here’s what you’ll need:
- Muslin fabric for a mock-up and trials.
- Dress fabric (satin, chiffon, organza, lace, or sequin fabric).
- Lining fabric for comfort and structure.
- Bustier or corset wires for support.
- Zippers, hidden zippers, buttons, hook-n-eye, hidden snaps, or any other desired closures.
- Sewing machine, serger machine, sewing needles, and thread.
- Fabric glue, hand-sewing needles, cutting mat, rotary cutter, and fabric scissors, paper scissors, seem ripper, trim scissors, and pinking sheers, or a set of them.
- Trims, lace, sequins trim, singular sequins, beads, rhinestones, feathers, appliques, and pearl buttons.
- Bobbins, elastic, crinoline or ruffles.
Be sure to check out extra recommended supplies like pattern weights, pin cushions, sewing clips, dress chalk, and pins here to get everything you need!


Step 5: Create a Muslin Mock-Up
Please do not skip this step!! I know we are anxious to bring this dress to life, but we must create a mock-up first!! This is very important to get all the measurements and fit just right. This is where we can sew a sample and fit the entire look to our teen before we cut any special fabrics. Even though we created a paper pattern, it is very important to sew it and fit it as a sample muslin piece before continuing. The worst thing would be to go through all of this detailed work only for it to be too tight in the armpit, or can’t actually zip the back, or too droopy in the neckline. No way! We are not risking perfection here! So, before cutting into the final fabric, sew a test version using your muslin fabric. This allows you to:
- Check the fit at all the right places and make necessary adjustments. We may need to do this a couple times. It’s ok. It’s worth the trial and error to get it right before the final fabric cut! So make sure you get extra muslin fabric!
- Ensure comfort and mobility. We will be dancing!!
- Perfect the pattern before working with expensive fabric. I cannot stress this enough. That fancy fabric is expensive!! We cannot afford to waste any of it on mistakes for cutting corners.
All you have to do is sew the basic pattern in muslin, see where you need to take in some bits, mark where you need to let out some bits, see where you might need to adjust a design feature now that you see it on a person, ie, the neckline needs to be higher or lower, or maybe a v-neck instead of square, etc. Pin, mark, and adjust areas that feel too tight or loose before cutting the final dress fabric. If there are more than 3 areas that need adjusting, definitely make a new muslin mock-up. It’s worth it to take your time and do it right in this stage, as muslin is disposable, and your expensive fabric is not!


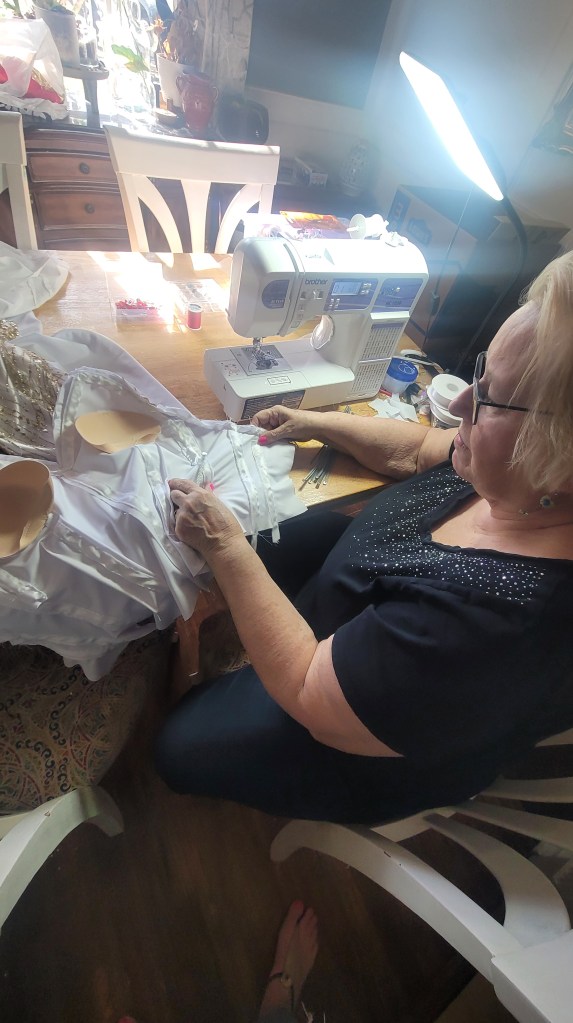
Step 6: Cut and Sew the Final Fabric
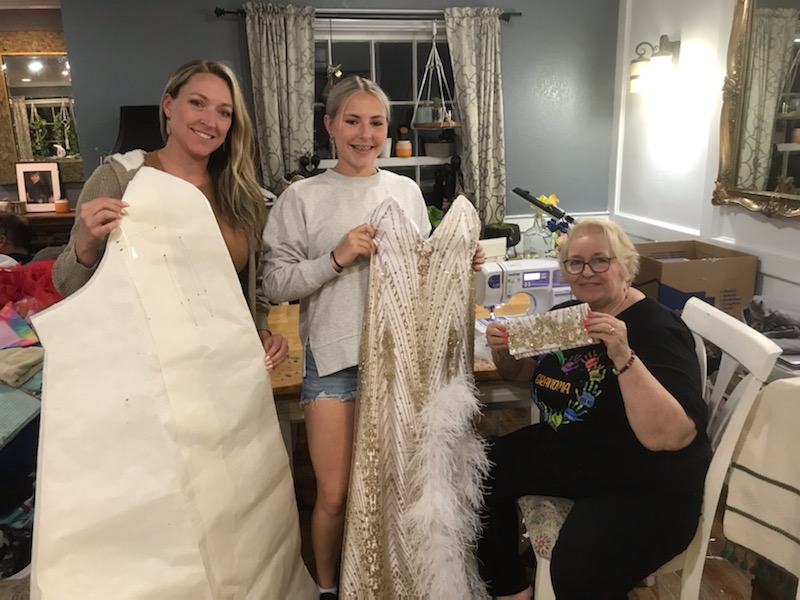
Once the muslin piece fits perfectly, use it as a guide to cut the final fabric. We created about 4 samples during this process to get the fit just right. Grandma can help with sewing because she is the expert while mom and daughter work together on cutting fabrics and patterns for her and everyone can help with beading and details at the end. There are so many sewing tutorials on YouTube, so just search and find the person that resonates with you the most. I think Sew Anastasia is super cute and fun, but there are also lots of free classes and workshops as well. Here’s a basic guide to get you going in the right direction. Don’t forget to serger or finish your seems inside the garments to prevent fraying.
- Always Start with the bodice, ensuring any boning or corset structure is added for support.
- Sew the skirt panels, whether it’s A-line, mermaid, or ballgown style.
- Attach the bodice to the skirt, ensuring clean seams.
- Don’t forget the lining!
- Add any zippers, buttons, or closures.
- Finish the hem once you have the shoes decided
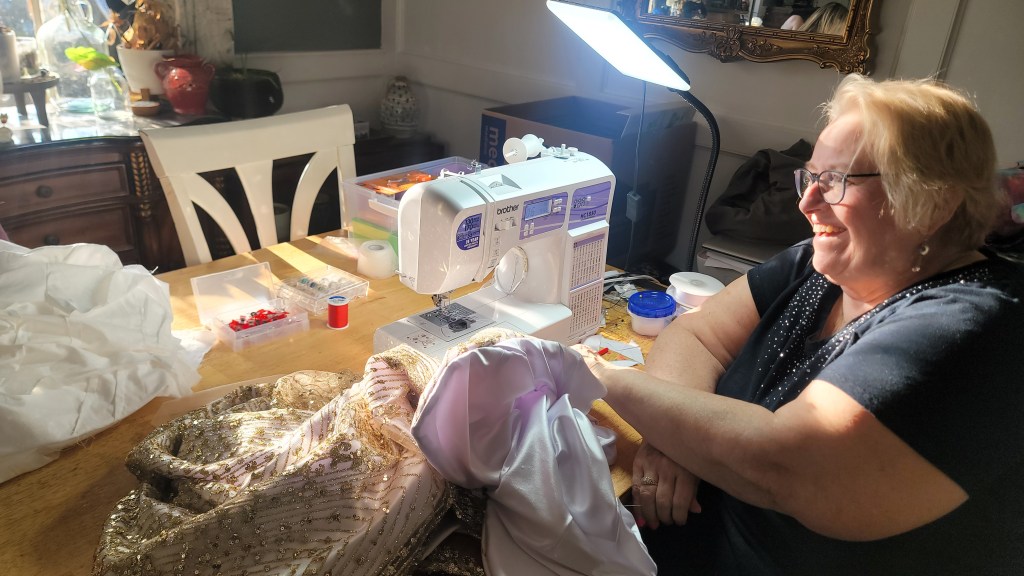
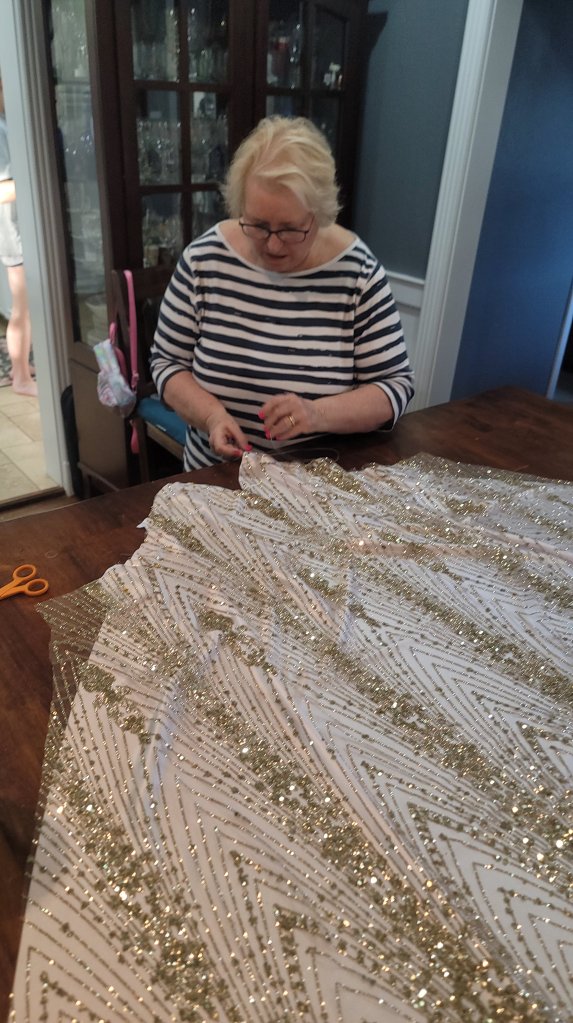
Step 7: Add Details and Embellishments
This is where creativity shines! Use beads, crystals, rhinestones, lace trims, full bodice appliques, feathers, and sequins to make the dress sparkle. Hand-sewing details with hand-sew beading needles ensures precision. Use a rhinestone applicator for fast detailing or fabric glue and wax pencils for less intimidating application can be used for intricate designs.
Step 8: Perfect the Fit
Ok, official try-on time! Finally, have your daughter try on the gown again and check for these issues:
- Ensure proper drape and fit. We don’t want any puckers, droops, pulls, or anything that makes the eye go crazy because it isn’t fitting right.
- Comfort in movement. She will be dancing the night away, so she needs to make sure she can sit and dance and walk properly.
- Seam strength and hem length. Ensure she is not tripping on the hemline, and make sure all seems are fit to her curves properly.
Make any final adjustments before finishing touches and have her try it on again to make sure it fits all perfect!!
Step 9: Final Touches and Pressing
Give the dress a professional look by:
- Pressing seams with an iron and pressing cloth. Make sure not to burn the fabric so cover it with a piece of muslin if needed and make sure your iron settings are appropriate for your fabric. Use steam as necessary. Be careful of all the beads and any glued sequins.
- Trimming excess threads. We don’t want any pesky threads hanging on the hem or under the arm or anywhere at all! Take a final look over the whole gown, inside and out, to ensure a clean finish.
- Ensuring beadwork and embellishments are secure.
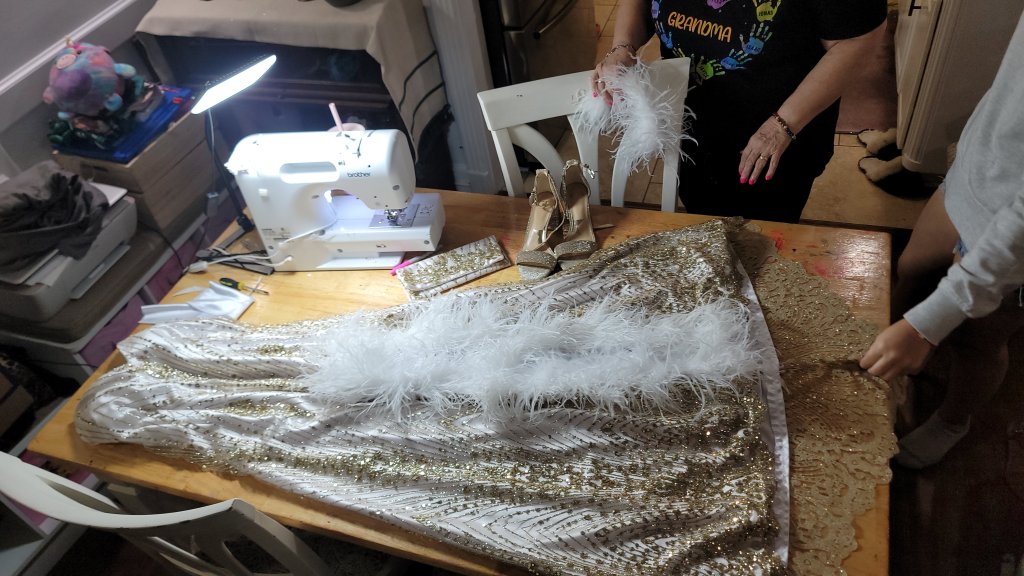
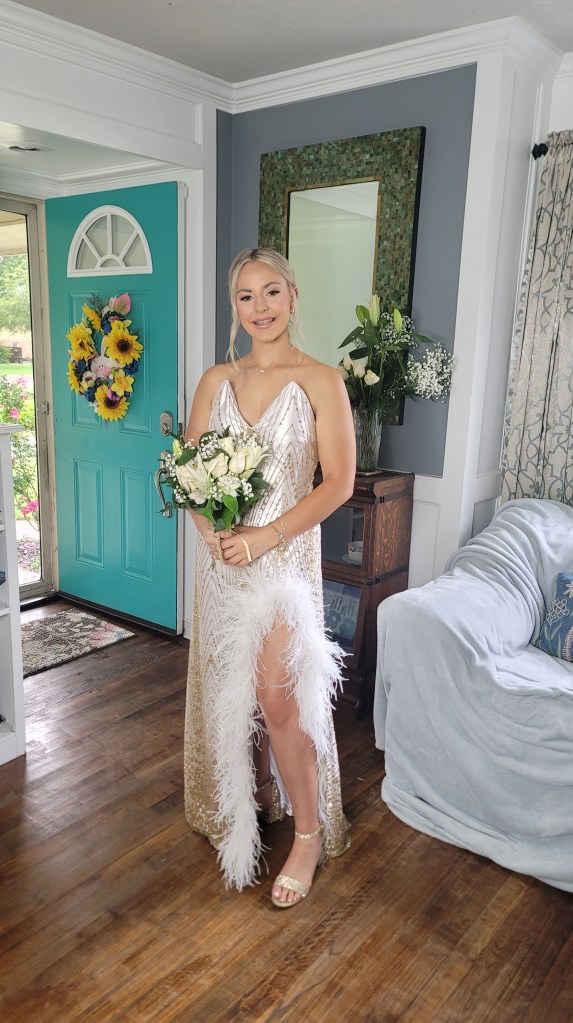
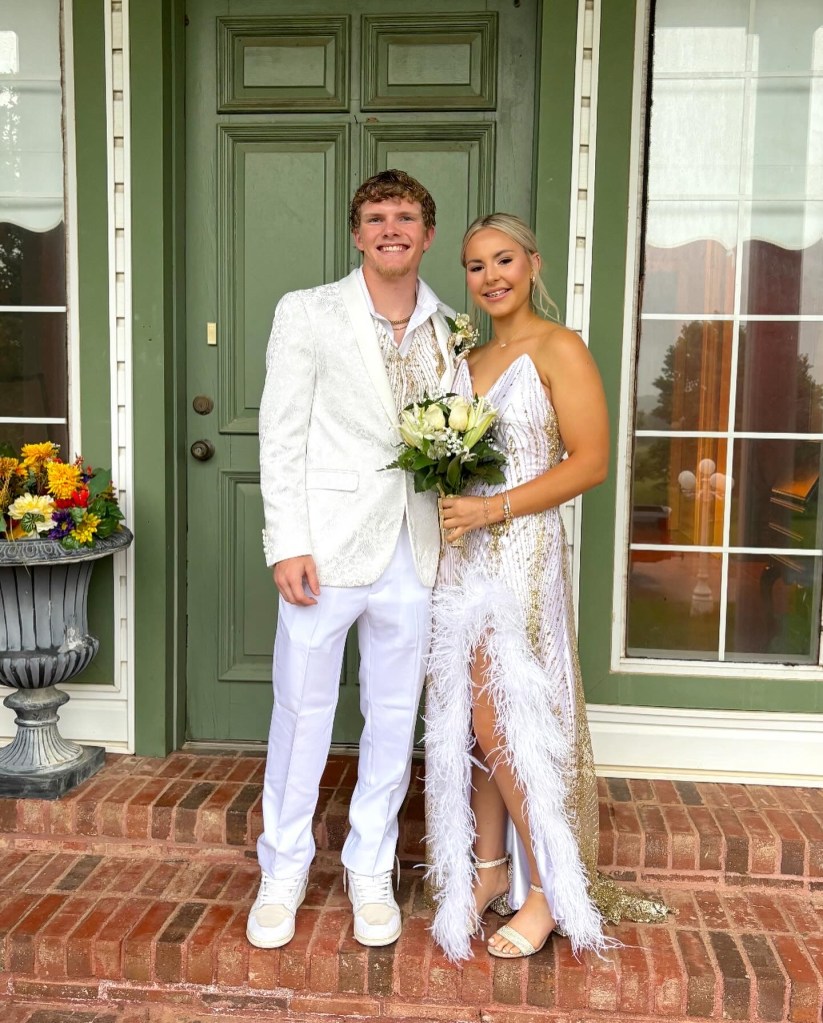
Step 10: Style the Look with Accessories
No prom dress is complete without accessories! Pair the gown with:

- Formal clutches and handbags. You can even make one with the extra fabric and beads to match like we did! Simple and sweet!
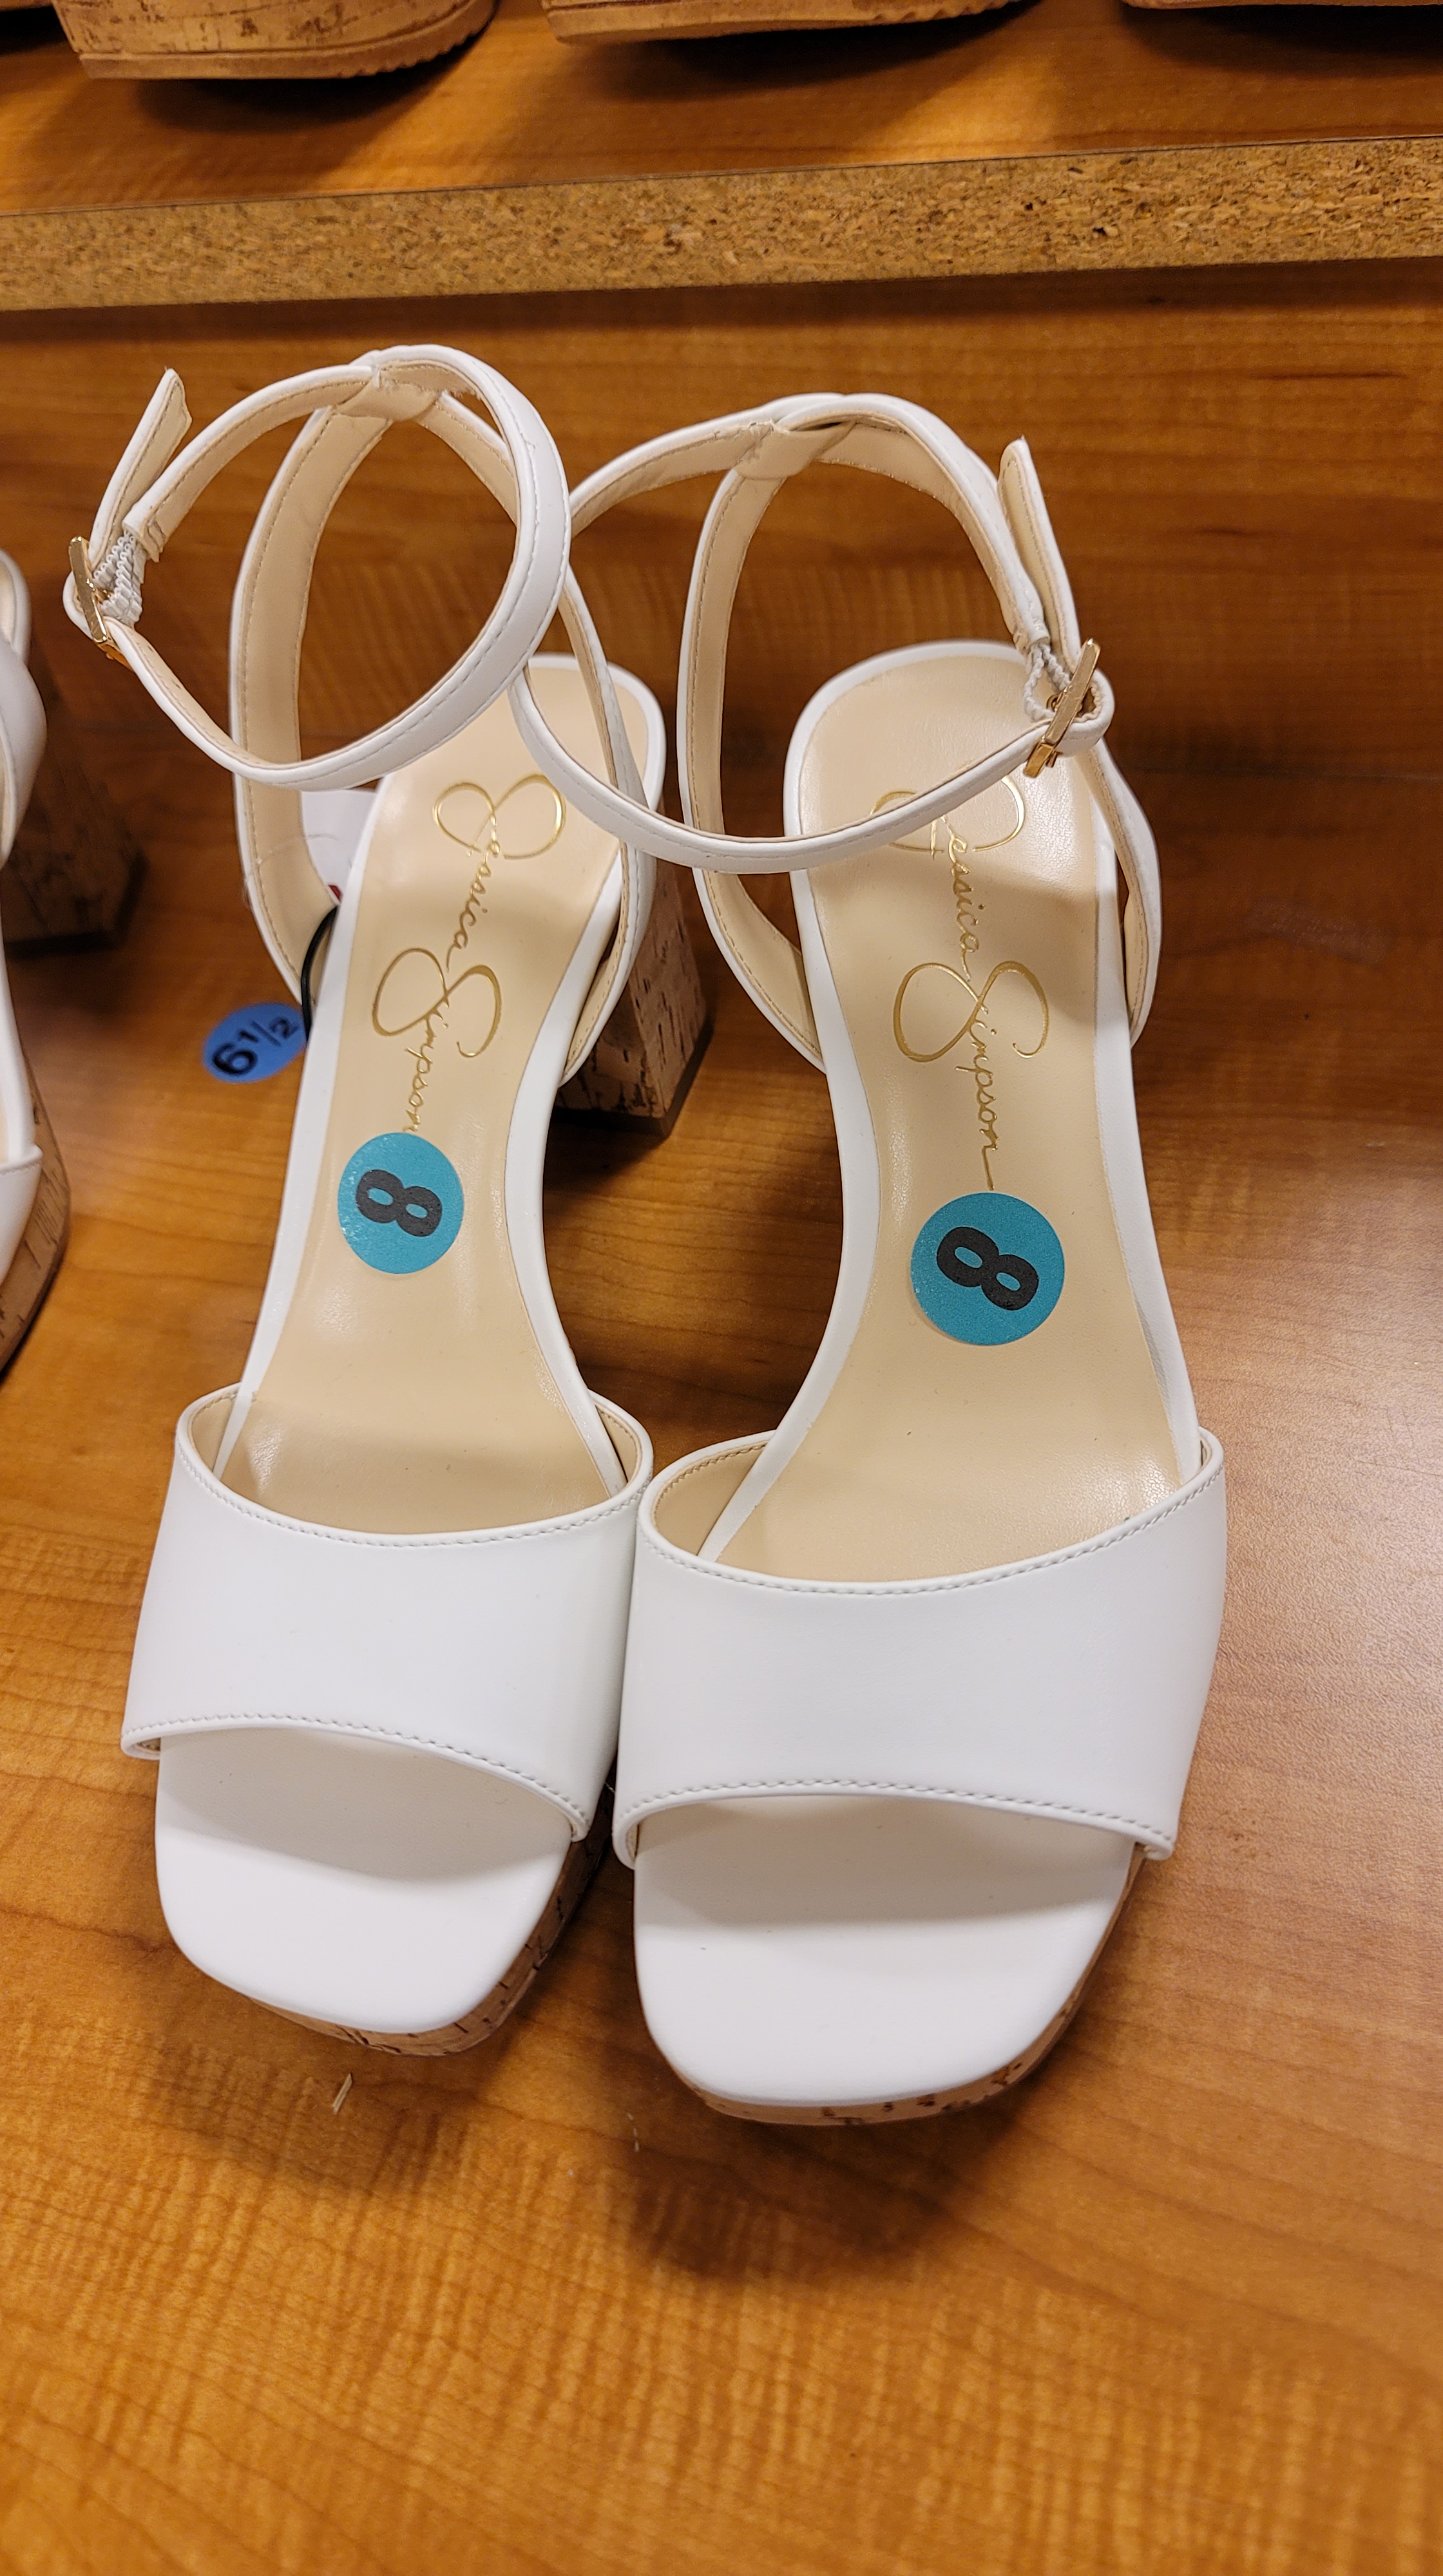
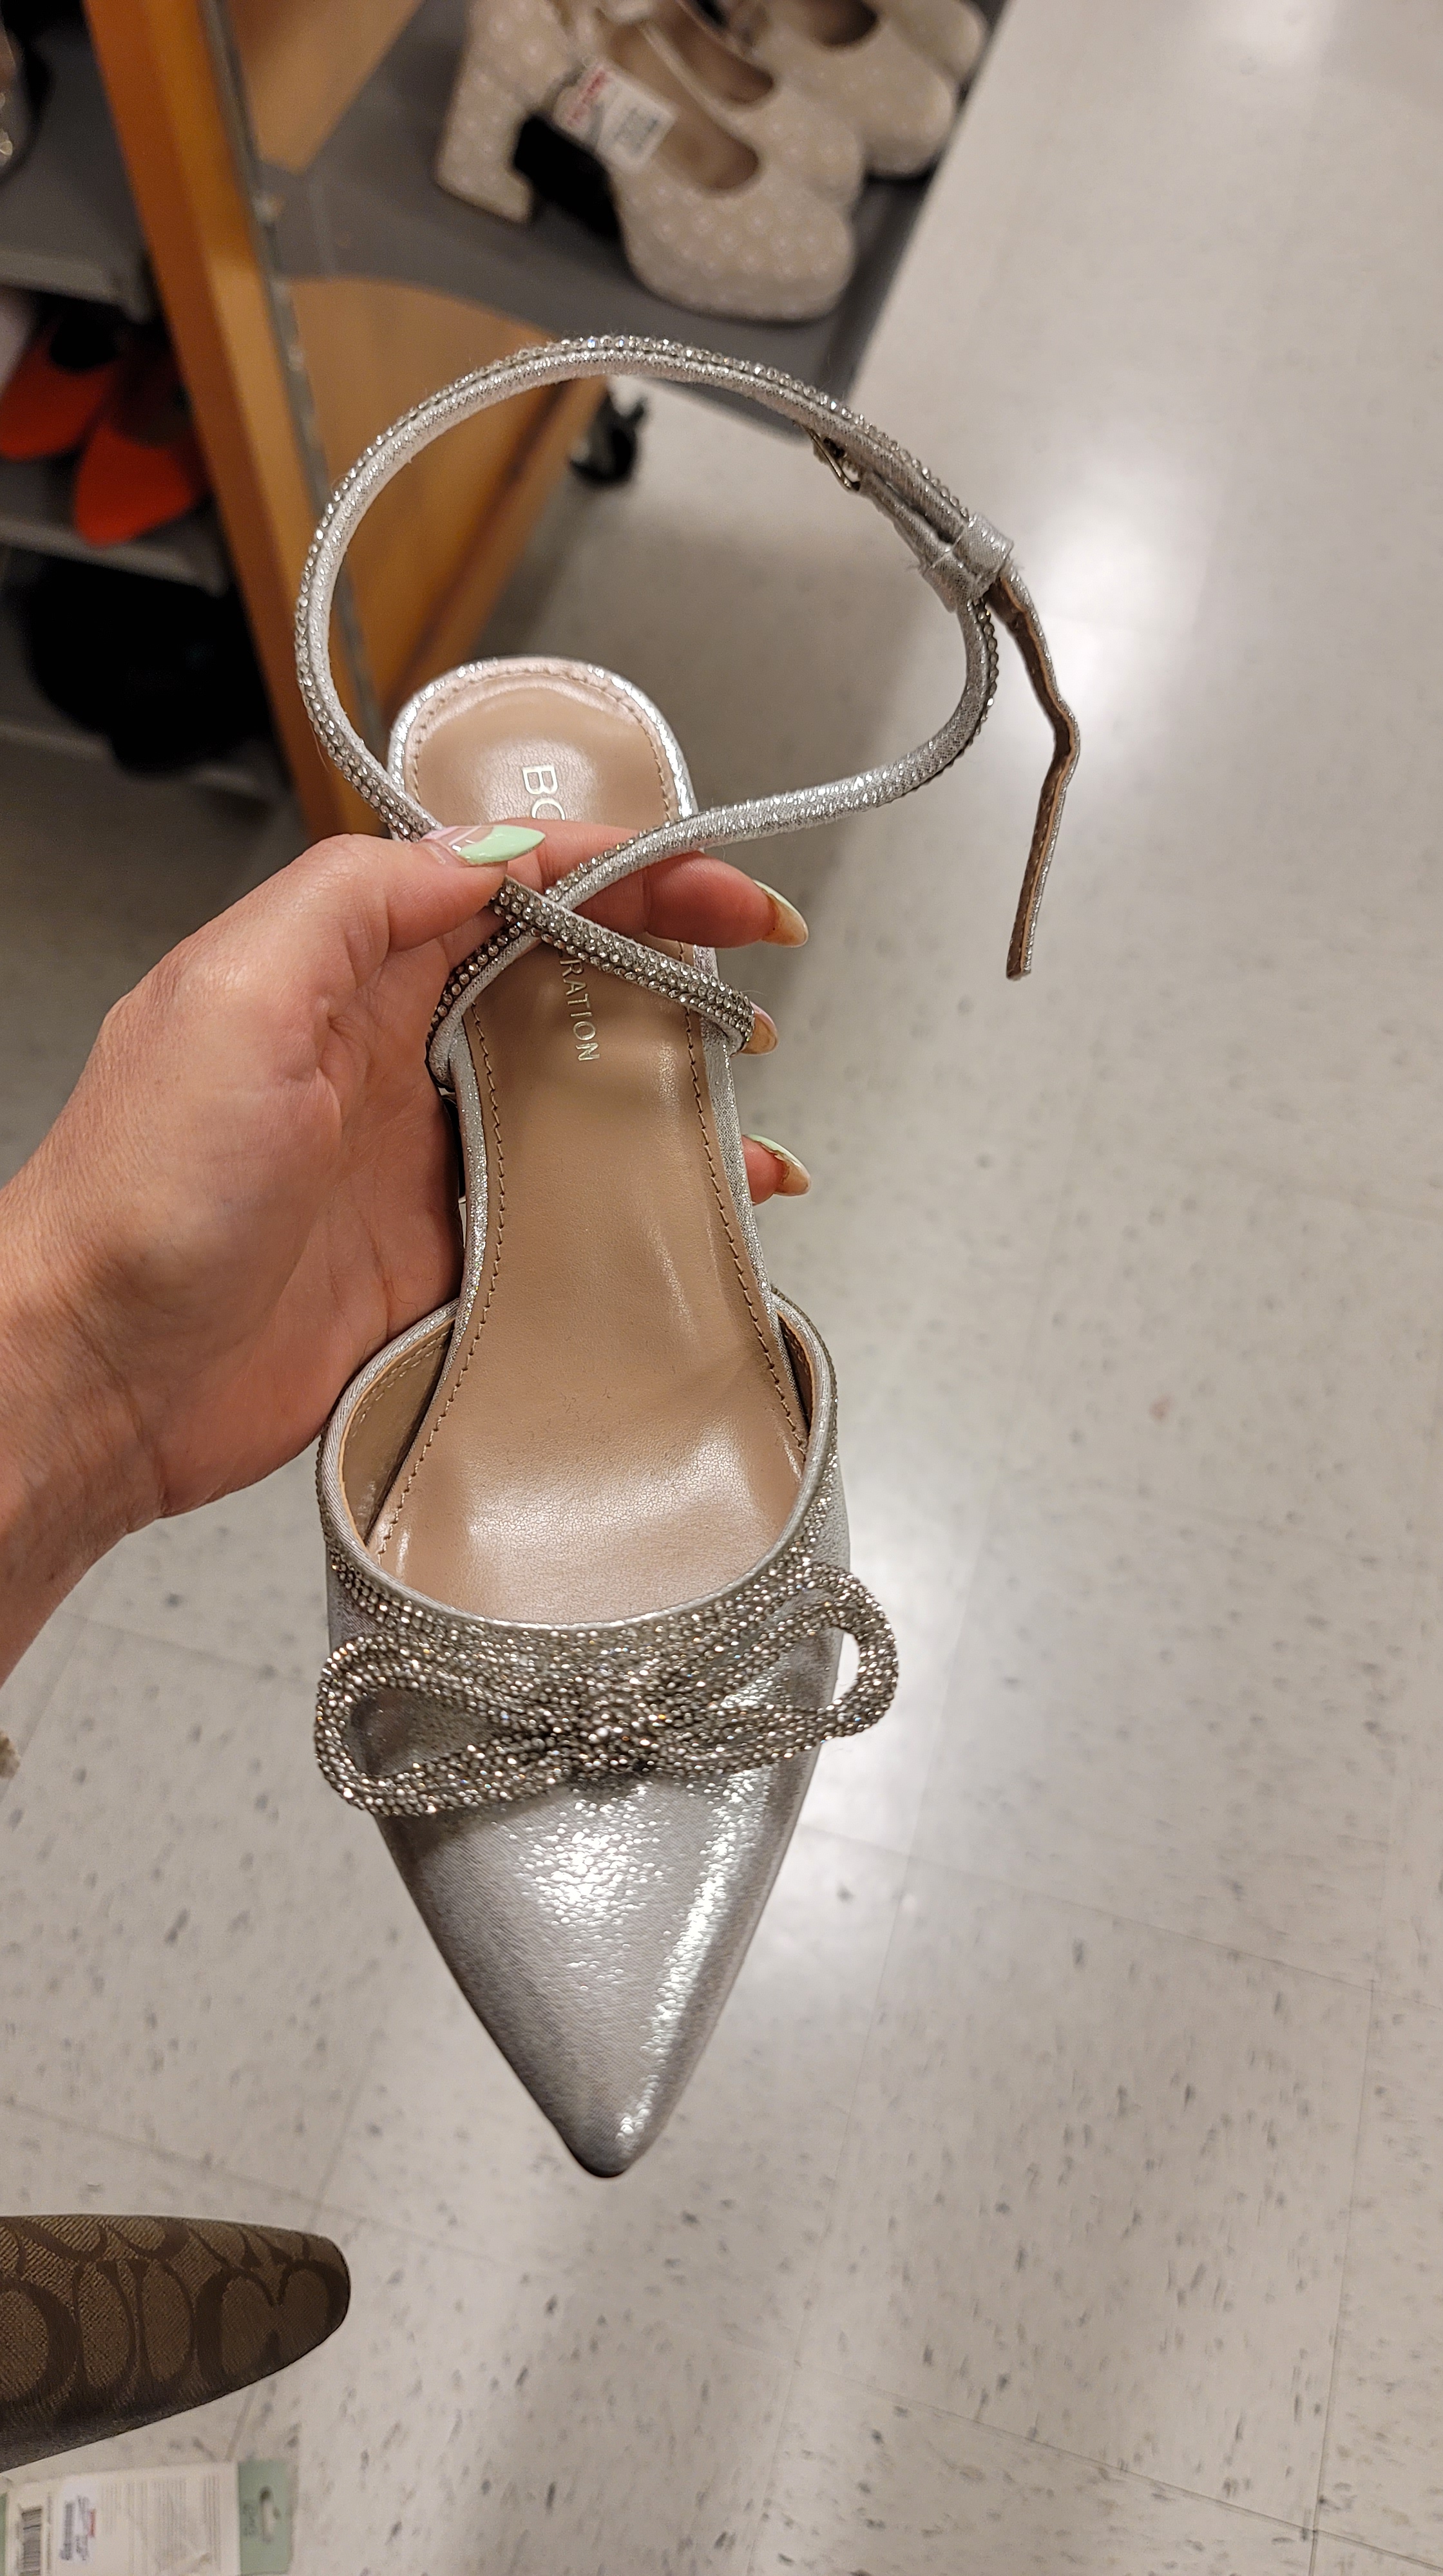
- Shoes that work for both the look of the dress and functionality, since she will need to easily walk and dance in them, but also look super cute!
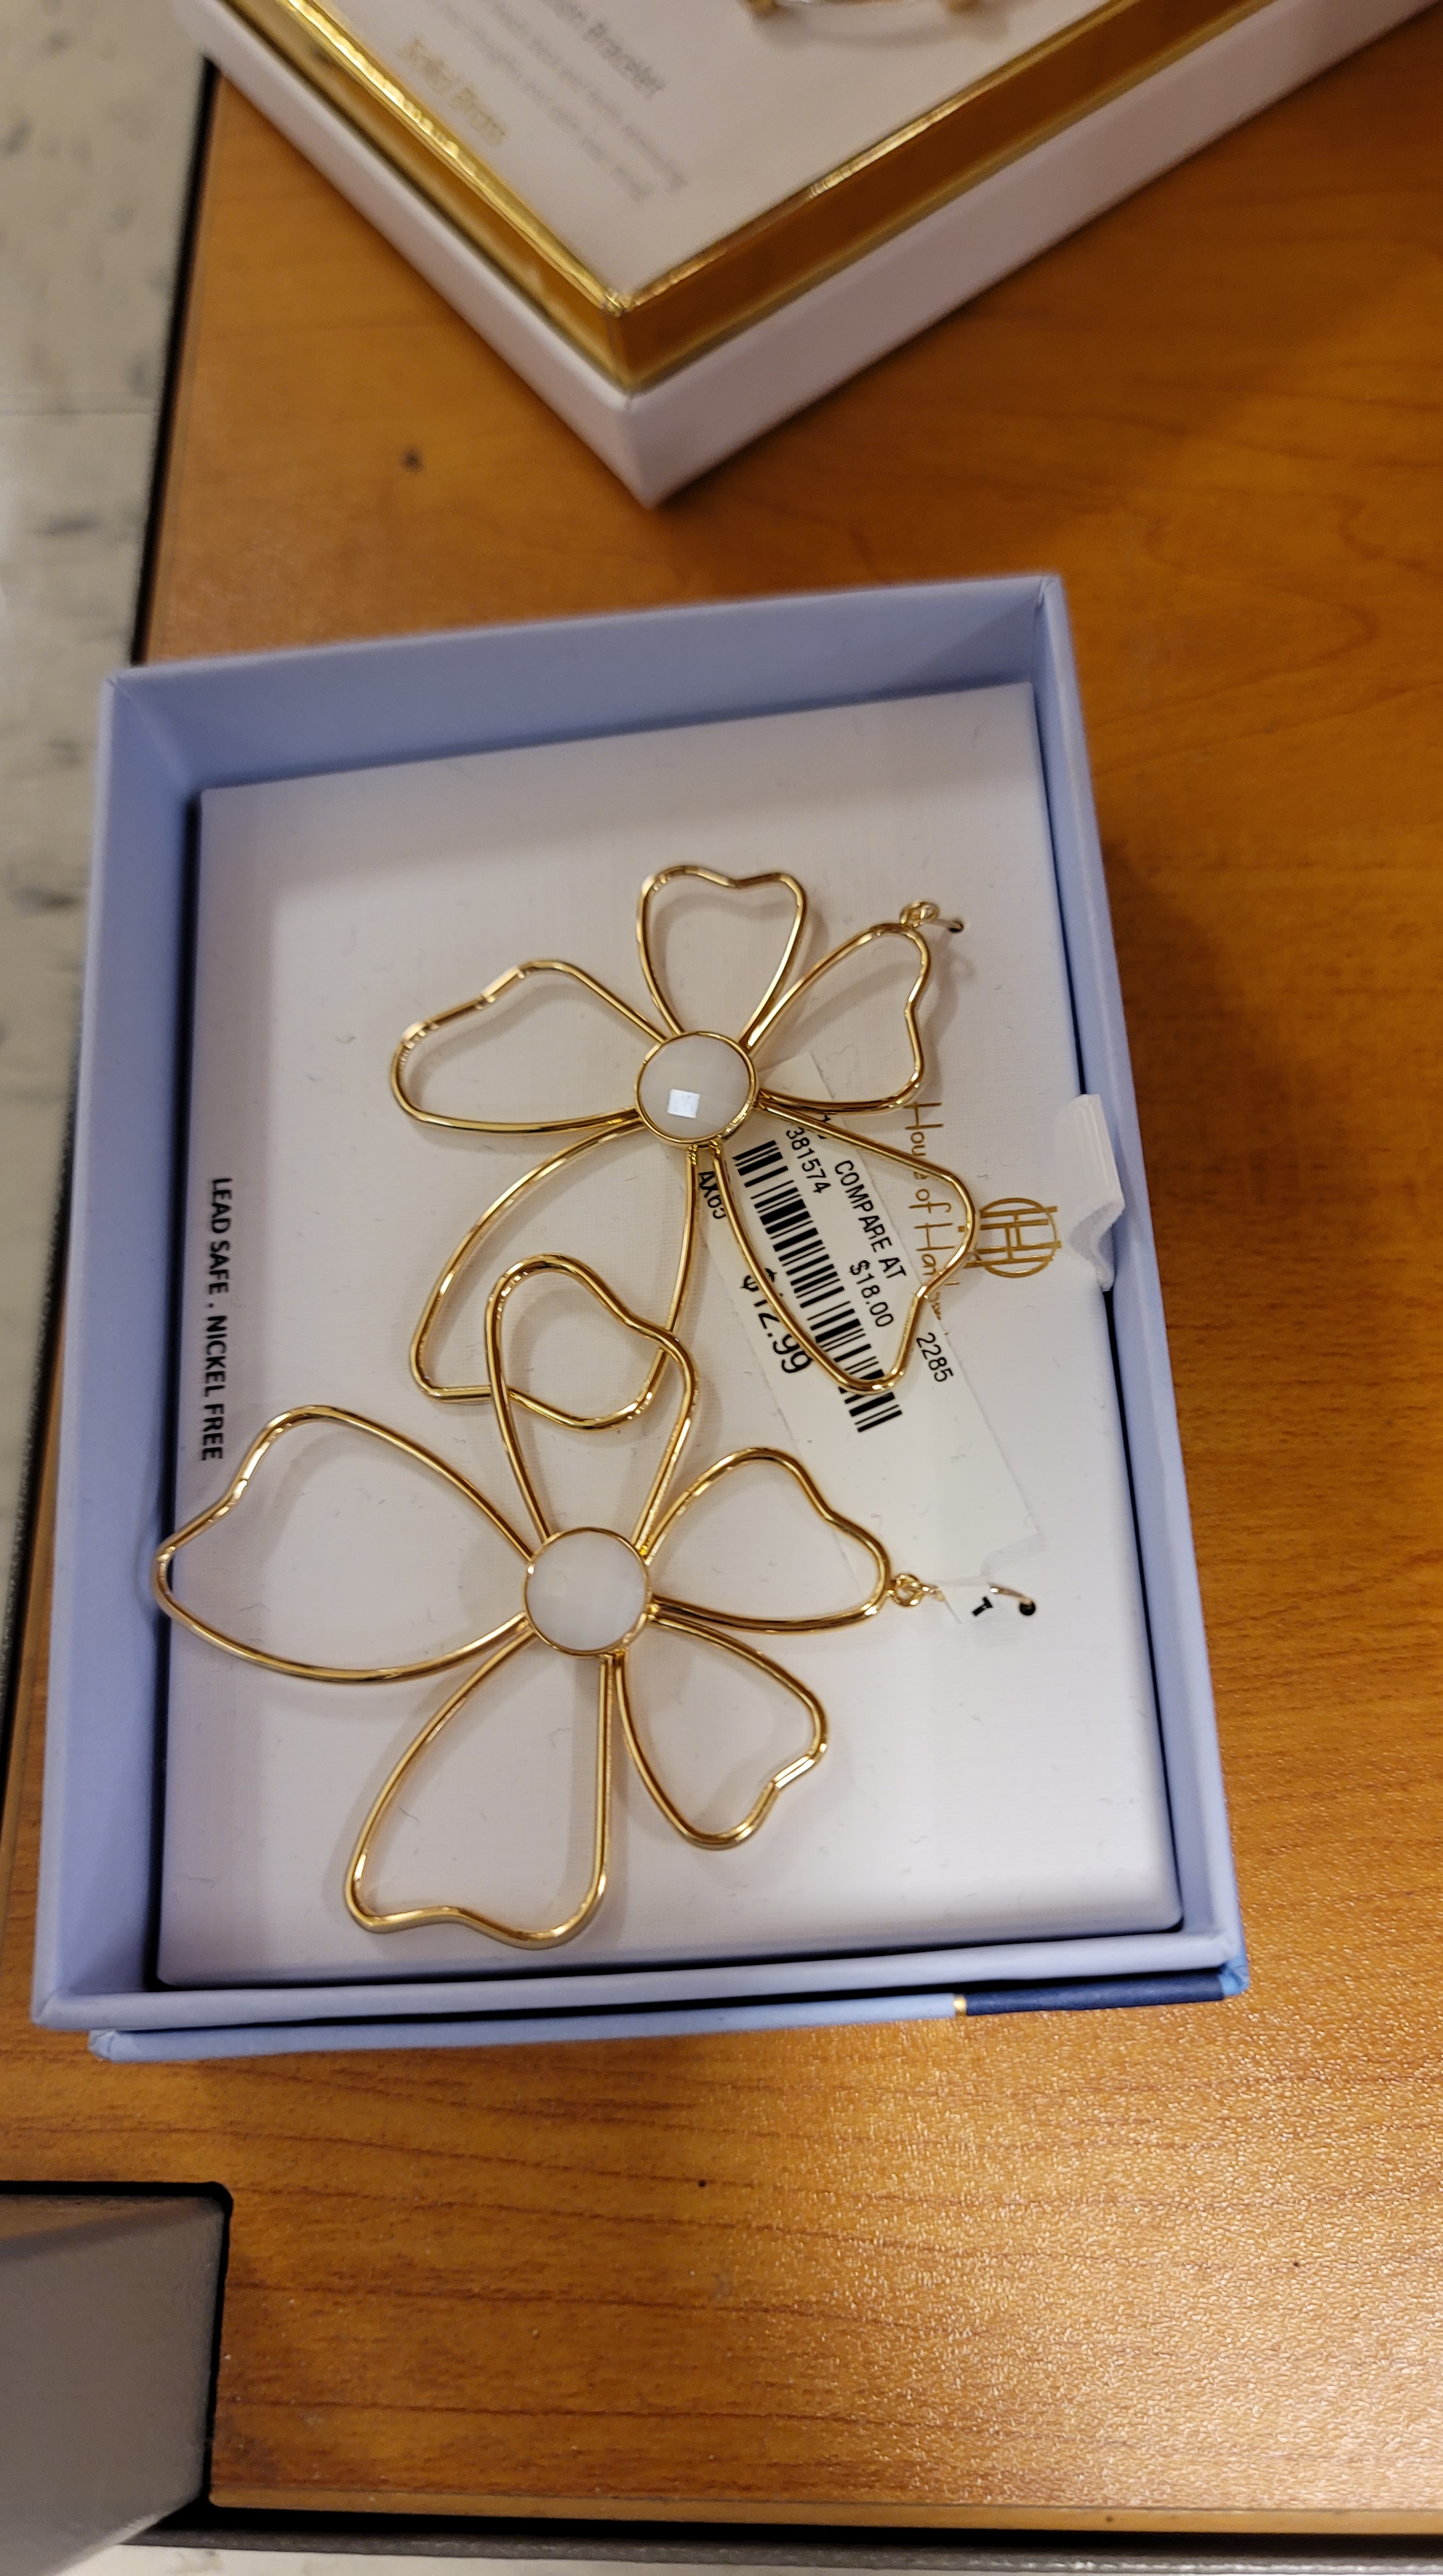
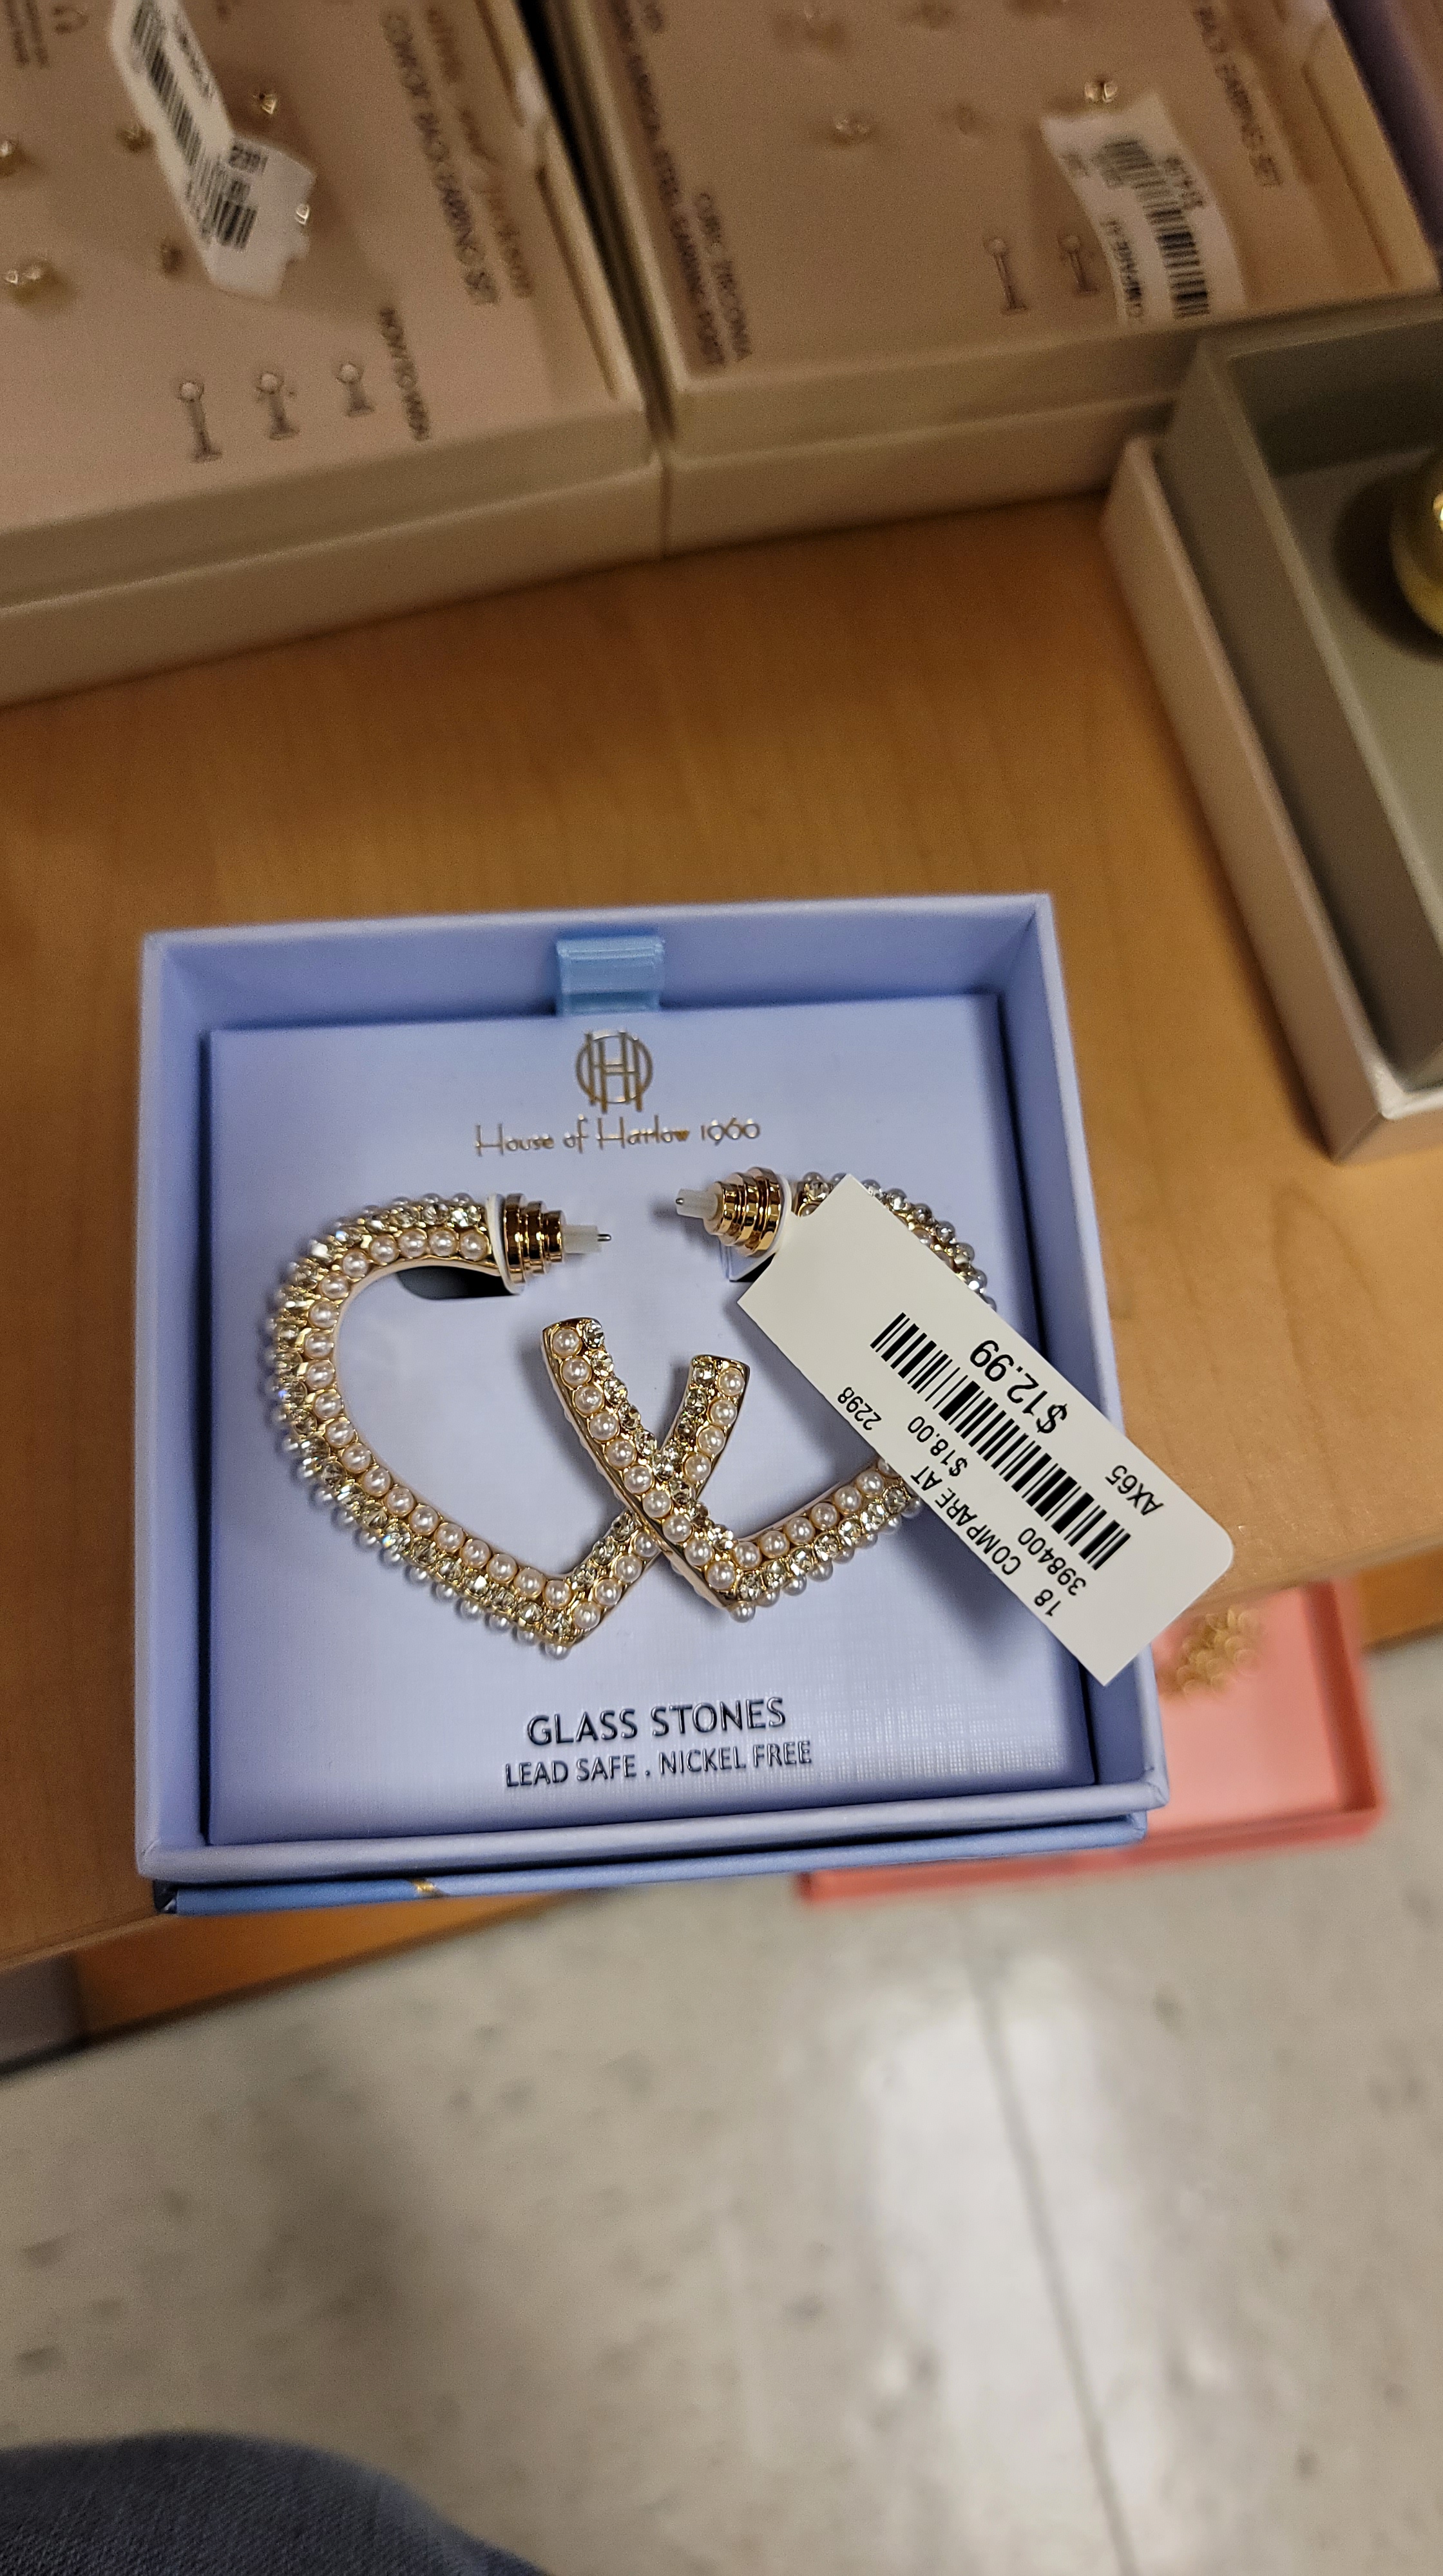
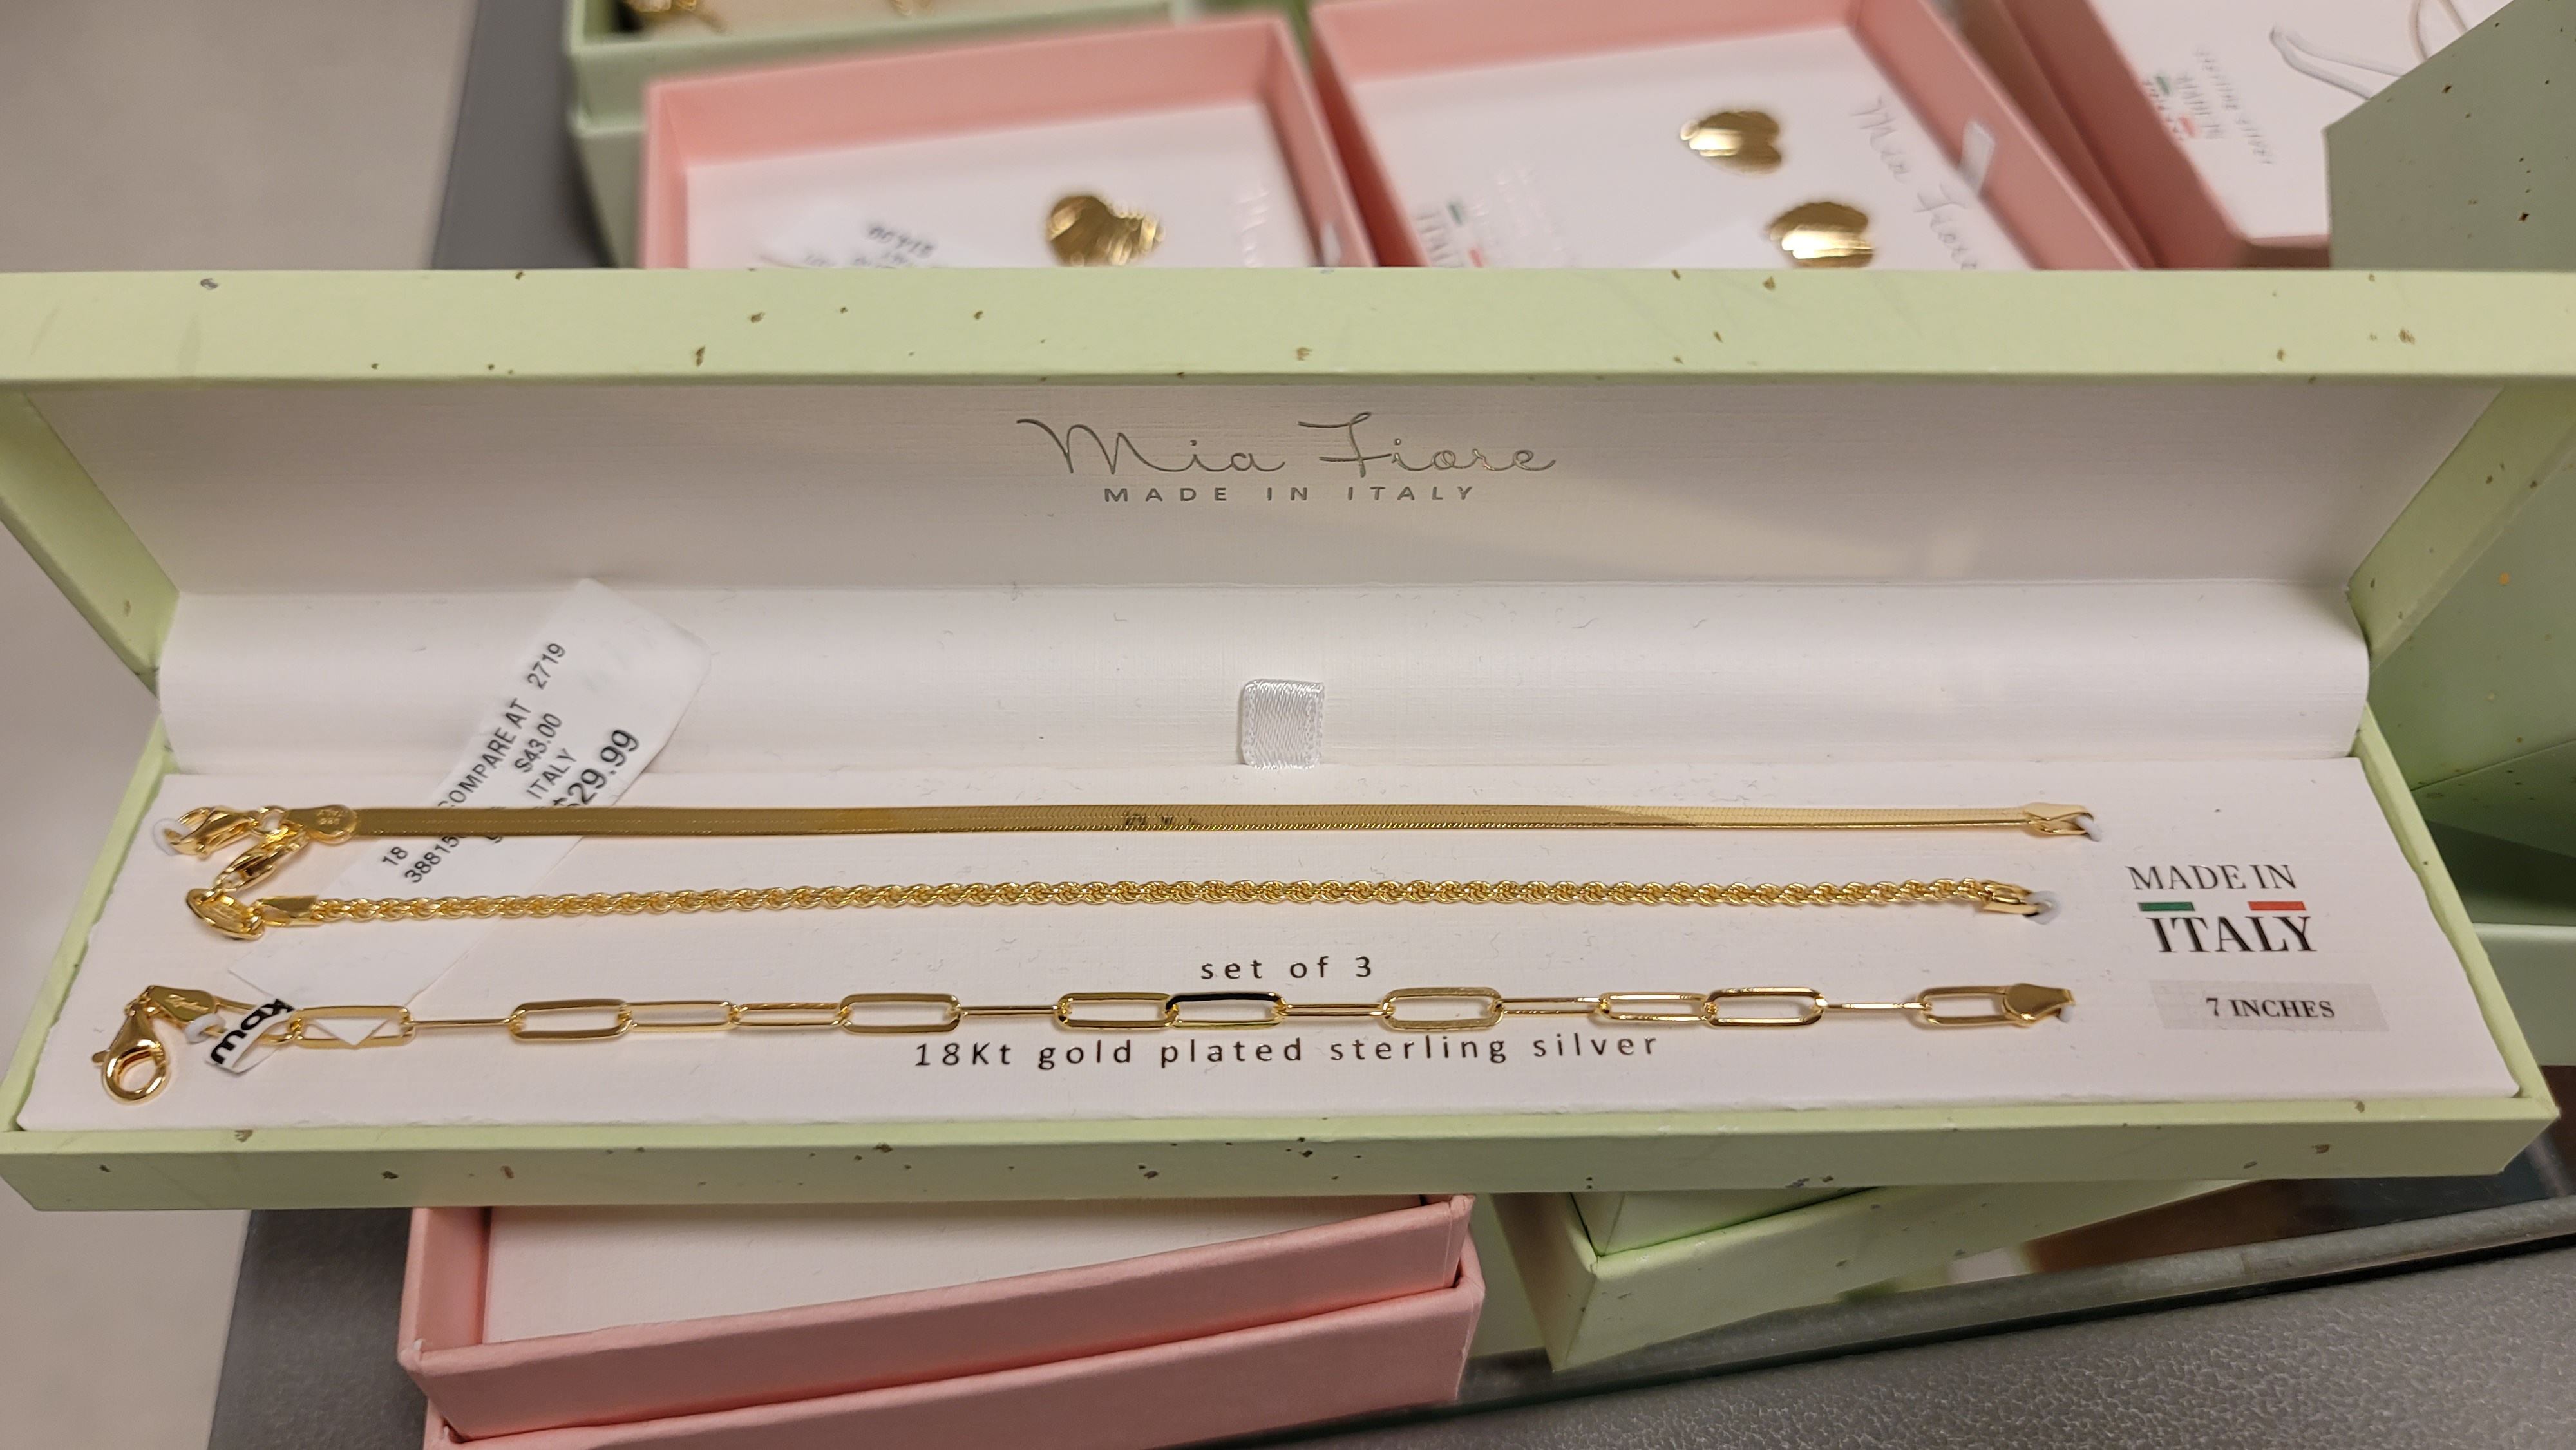
- Jewelry like earrings, necklaces, and bracelets. Make sure the style doesn’t overpower the hard work you put in to your dress, but rather compliments the design to it’s finest! Think about color, sparkle, metal, and closure of the pieces so they are easily wearable but also complimentary to the dress, her skin tone, and the overall style!

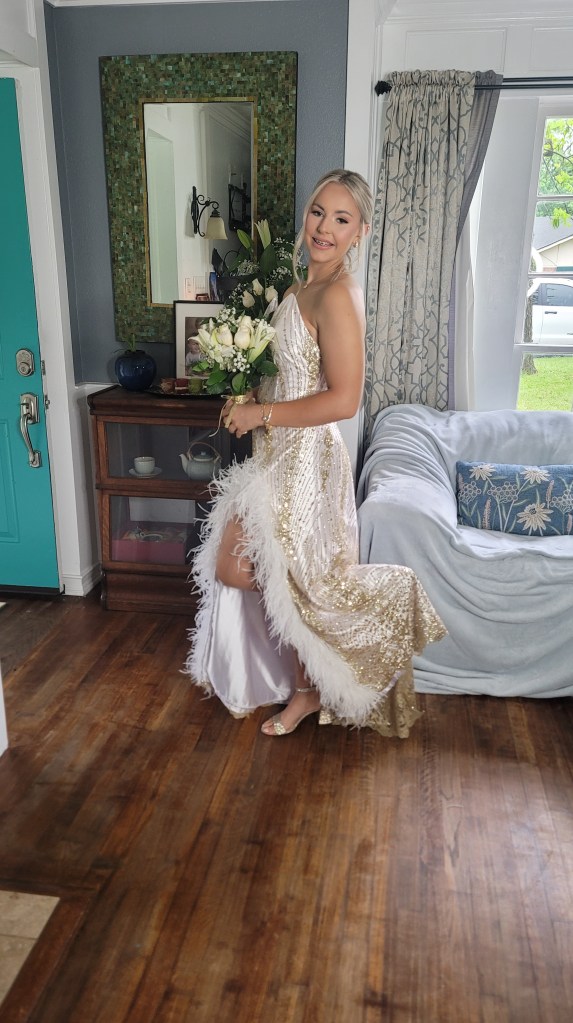
- And don’t forget the flowers! Today, girls are creating beautiful bouquets instead of corsages, but the theme is up to you! You may just want a simple flower in her hair! Any way you choose, flowers keep the elegance, class, and sophisticated femininity of a formal prom gown. You can’t go wrong with whatever way you choose!
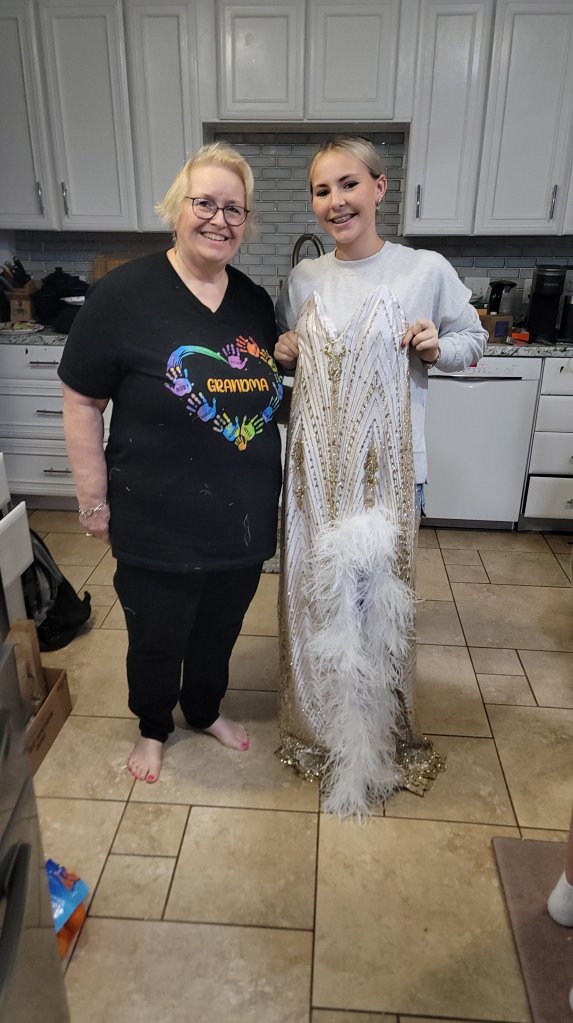
A Memory to Cherish Forever
By the end of this process, not only have you created a stunning prom gown, but you’ve also made beautiful memories together as a family. The teamwork, creativity, love, sweat and tears put into this dress will make it the most magical moment your daughter will remember forever. And so will you! This dress will mean more than any store-bought dress for the rest of your life. And that will be worth all the hard work you put in to making it a dream come true!
Happy sewing, and have a magical prom night!
XOXO
-Lindsey
Affiliate disclosure: This post contains affiliate links. If you purchase through them, I may earn a commission at no extra cost to you.
PS remember to get ALL the photos!! And maybe even make a memory scrapbook along the way. This is something she will want to share with her children and grandchildren one day too! You never know what will happen along the way! 🙂


Leave a comment